Over 120 10/10 Verified Reviews on 

How To Fit Artificial Grass
Below is a DIY guide to artificial grass installation.
To get the best results, we recommend our professional fitting service. For those who want to carry out a self-installation, we hope this information is useful:
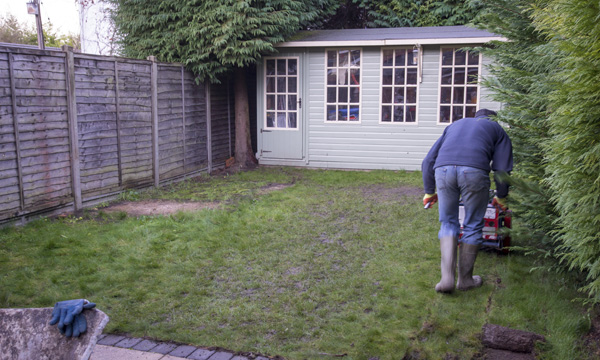
1. Using a sod-cutting machine, remove any existing turf or top soil to a required depth up to 100mm depending on drainage.

3. Apply a layer of aggregate type 1 MOT then level and compact using a vibrating plate machine.

5. A high grade non-woven weed membrane is then installed. This increases the longevity of the artificial lawn by creating a barrier between the lawn backing and the abrasive sand, whilst preventing any weed growth.

2. Use specially treated wood or composite battens to secure the garden perimeter. This provides a study framework for fixing the lawn edges. It is hidden from sight under the artificial grass after installation.

4. Apply a finishing layer of sharp sand and screed to give a final natural level. Use a spirit level to ensure the surface is completely flat.

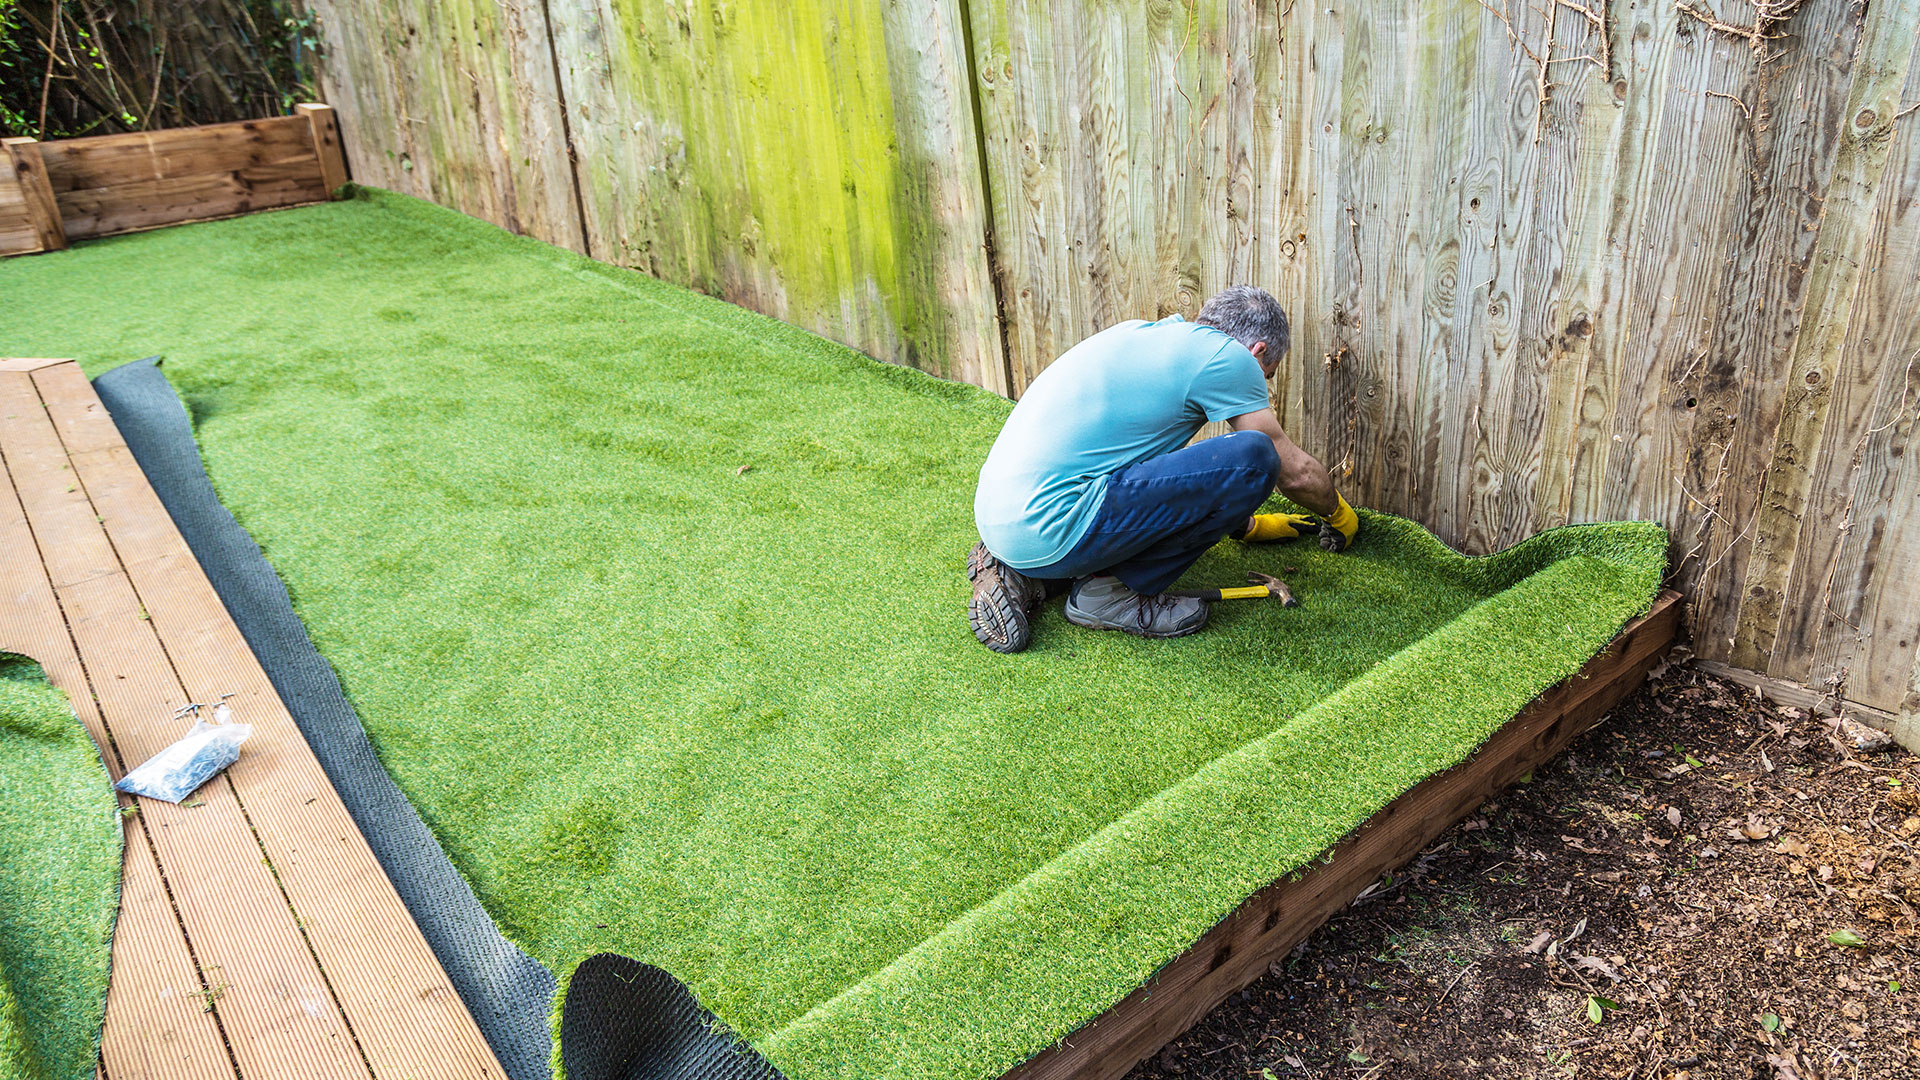
6. Lay the artificial grass similar to how a carpet would be fitted and secure firmly on all edges with galvanised staples and high bond contact adhesive.
After fitting, give the grass a final brush-up of the pile with a stiff broom and your stunning artificial lawn is ready to be enjoyed all year round. For more comprehensive information, we recommend you visit the official Royal Grass® guide for how to lay artificial grass. This includes how to measure, how to cut and how to seam artificial grass.
For all garden lawns, we recommend using artificial turf by Royal Grass®.